Microsoft Thought They Could Get Away With One
Windows 11 now forces you to login with a Microsoft account during initial setup (unlike Windows 10).
For some (including myself), the last thing you want to do is create a Microsoft Account.
Especially since Microsoft has come under fire in recent times because of the way they’re collecting user data.
Not all hope is lost though. You can in fact setup Windows 11 without a Microsoft Account using a clever workaround.
This method works as of 11/27/2022 (this could change though).
Now let’s get started…
Step 1: Disconnect Your Internet Connection
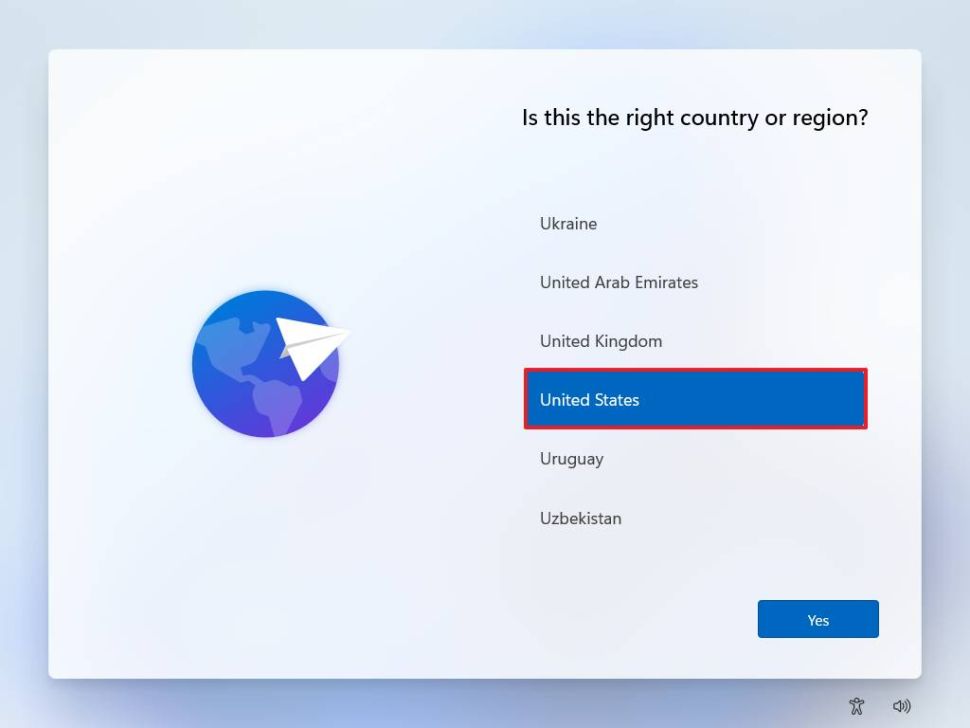
When Microsoft prompts you to Select Your Region on initial setup, you will want to disconnect from the internet.
You can do the following to disconnect from the internet…
- Press
Shift + F10on your keyboard. This will open the Command Prompt. - Inside the Command Prompt enter:
ipconfig /release

Now don’t close the Command Prompt just yet.
We still need to perform another step…
Step 2: Enable Out-Of-Box Experience and Disable Internet Requirement
With the Command Prompt still open, enter the following:
oobe\bypassnro
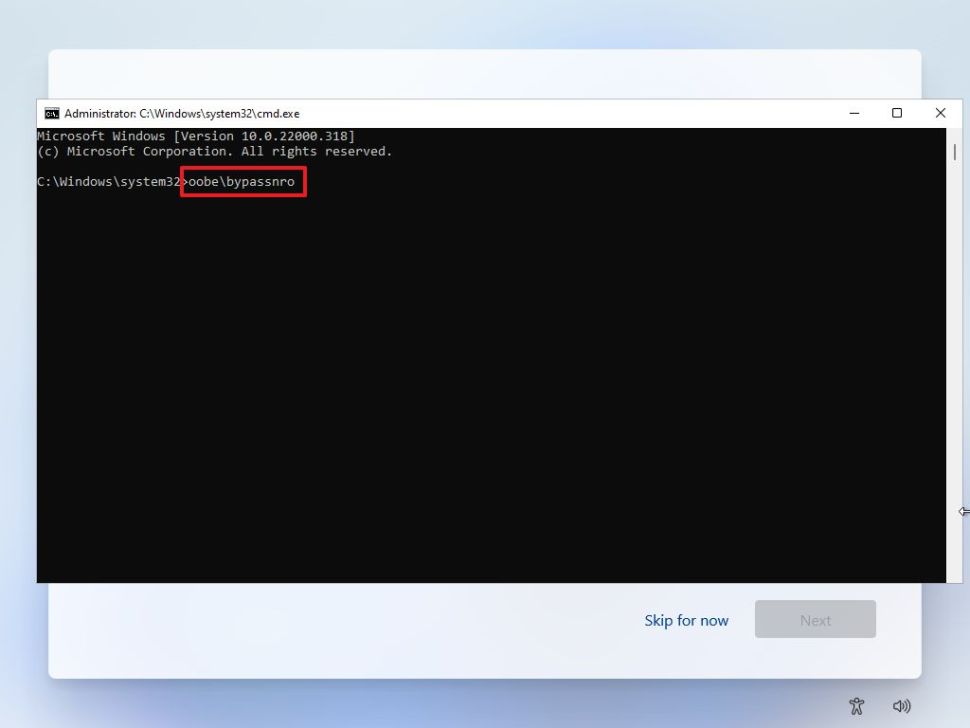
Please note that this command is a single phrase without any spaces.
This command will disable the internet requirement during initial setup. You will then be able to setup Windows 11 without a Microsoft account.
After entering this command, your computer will reboot automatically.
When the Windows 11 setup resumes, you will start back up at the Select Your Region screen.
Step 3: Proceed With The Windows 11 Setup Process.
Now for the easy part…
All that’s left is to go through each setup page to finish setting up Windows 11.
- First, you’ll want to Select Your Region.
- Then click the Yes button.
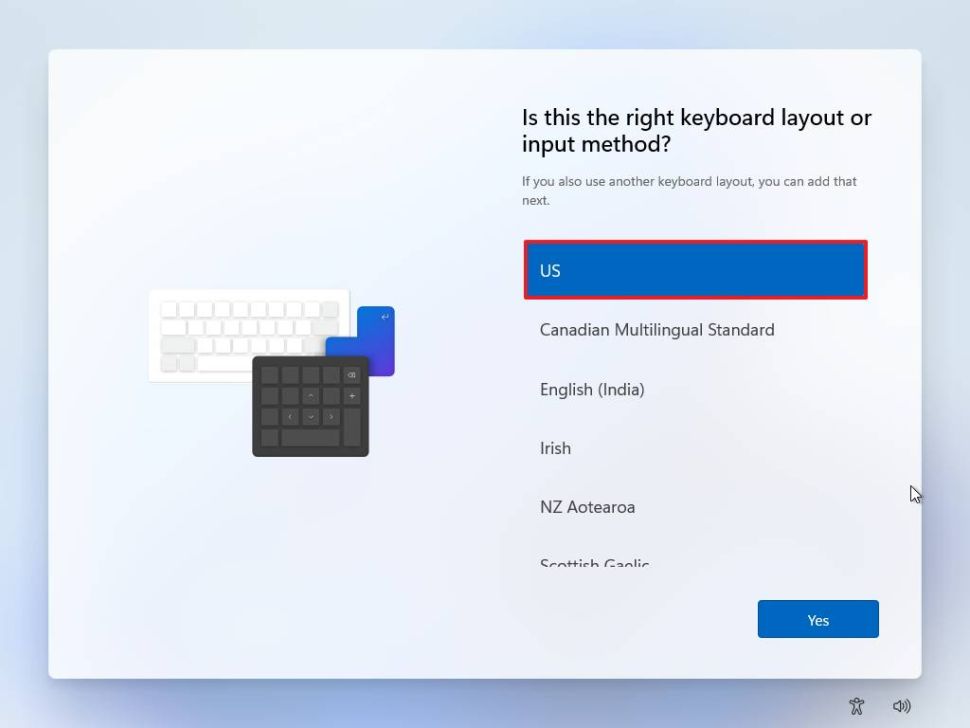
- Next, you’ll want to Select Your Keyboard Layout.
- After selecting it, click the Yes button.
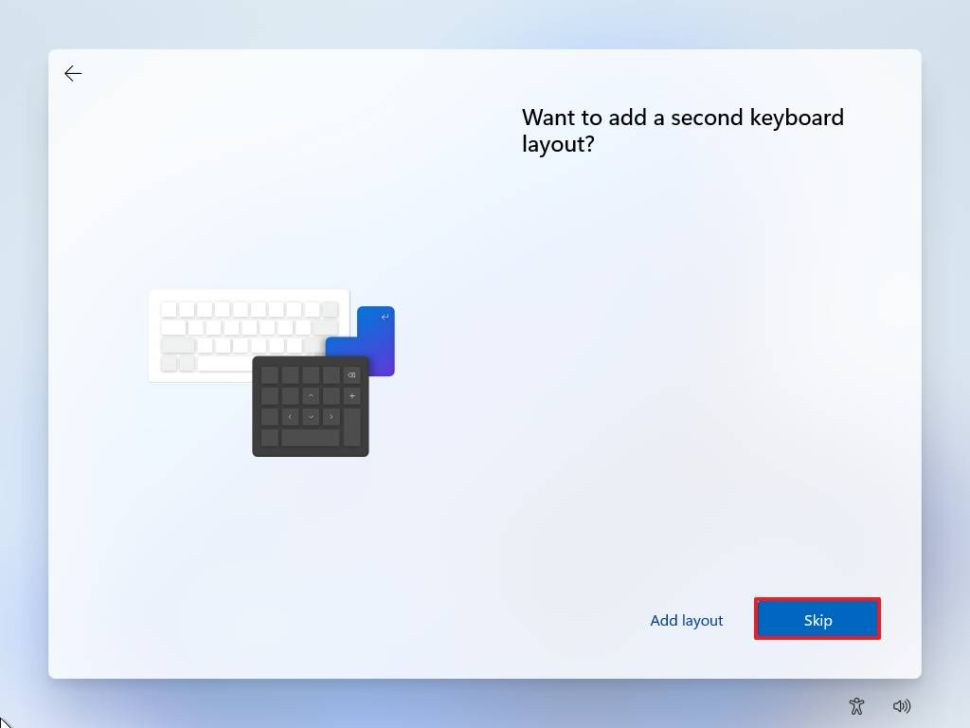
- Afterwards, click the Skip button when adding a second layout.
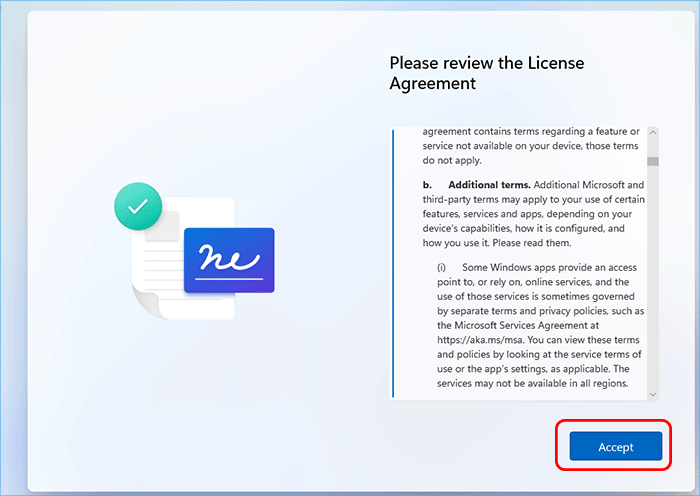
- You’ll then be prompted to Review the Windows License Agreement.
- After reviewing it, click the Accept button.
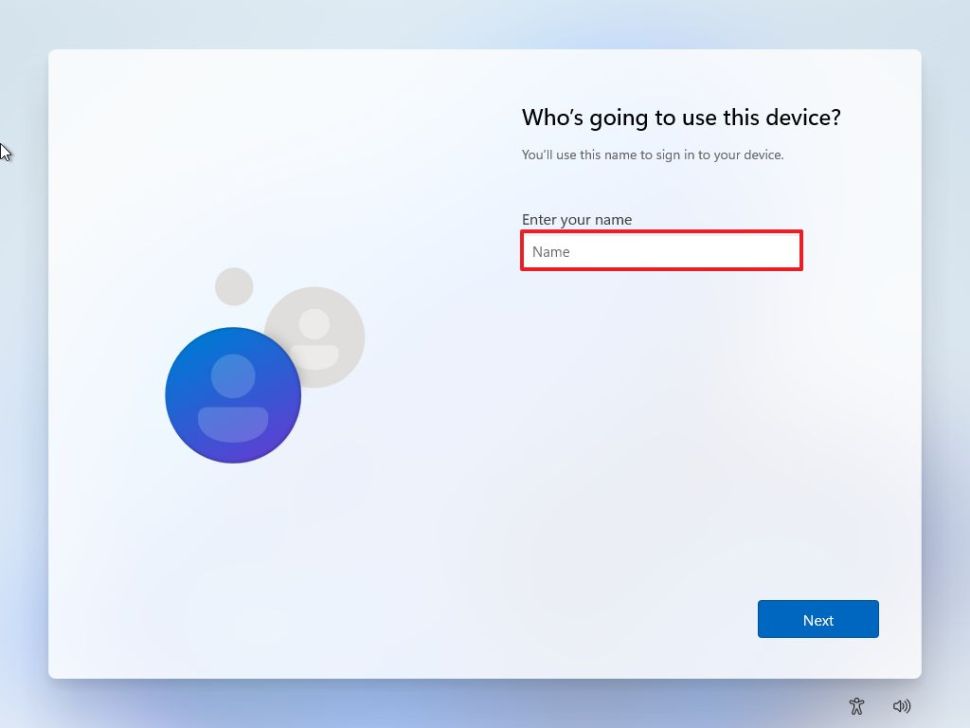
- Next up is Entering Your Name for your computer (this will be the name used to sign in).
- Then click the Next button.
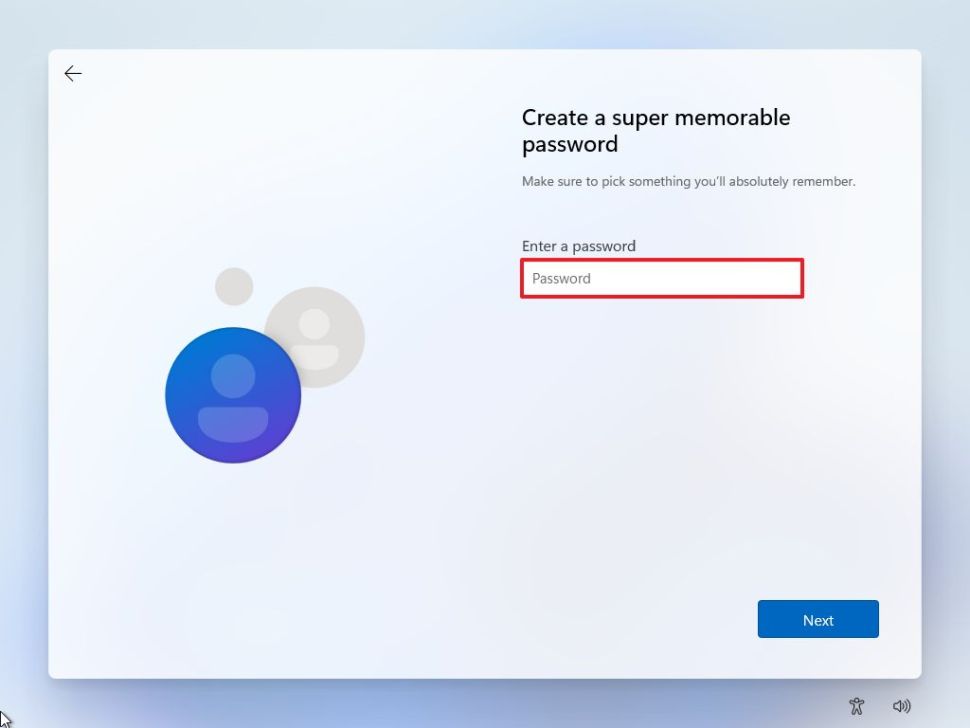
- After entering your name, you’ll then be prompted to Create A Password for the account.
- Then click the Next Button
- If you created a password, you will be required to complete three security questions to recover the account in case you forget your password.
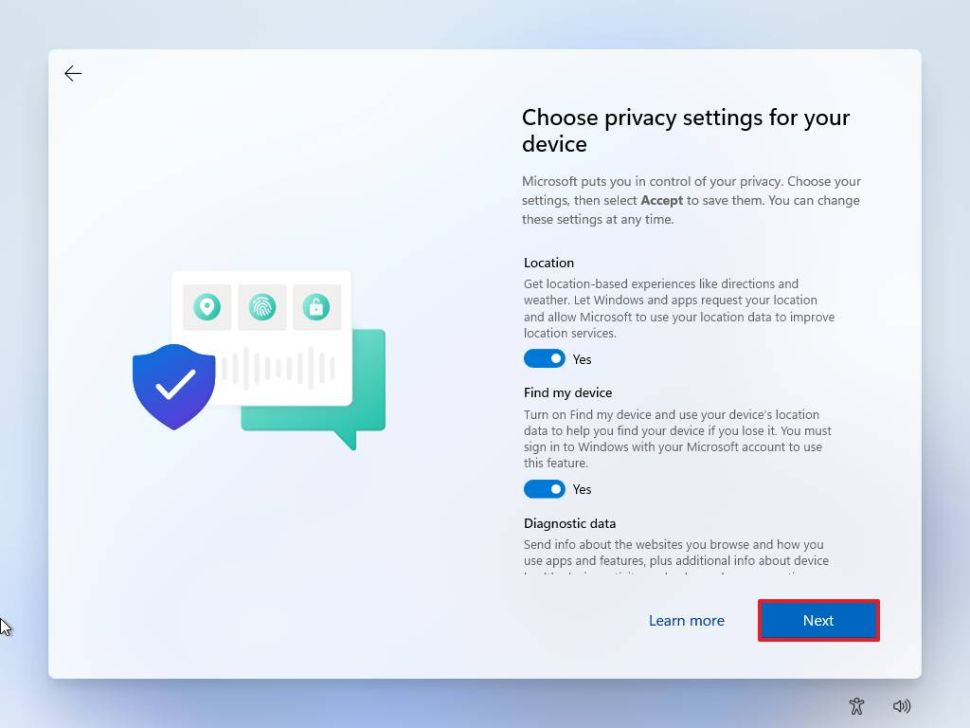
- All that’s left is Choosing Your Privacy settings.
- After choosing your privacy settings, click the Accept button.
Windows 11 will then get things ready for you.
It will take just a few minutes before you have Windows 11 up and running.
And that is it!
You’ve just setup Windows 11 without needing to create a Microsoft account.
Share your thoughts…
Was this tutorial helpful?
Feel free to leave a comment about your experience setting up Windows 11.
Was it positive or negative?
Anything else you’d like to add? Share below…